 Save
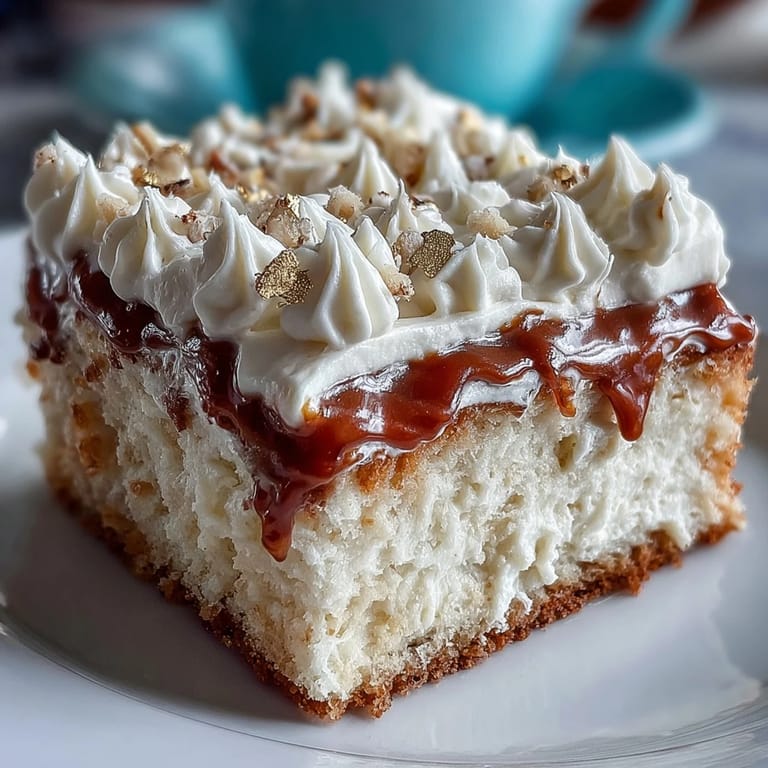
Save My daughter's graduation day arrived with that particular kind of morning light that makes everything feel official and shimmering. She'd asked for something elegant but not too serious, and when I suggested a vanilla cake dusted with actual gold, her face lit up in a way that told me I'd gotten it exactly right. There's something about baking a celebration cake that transforms your kitchen into a place of quiet ceremony—flour on your apron becomes a badge of honor, and the smell of vanilla extract mixing with butter feels ceremonial. I wanted this cake to be as memorable as the day itself, sophisticated enough to photograph well but approachable enough that we could laugh if something went slightly sideways. That's when I knew a graduation cake with gold foil and a diploma topper would be perfect.
I'll never forget how my hands shook slightly when I positioned that little diploma topper on top—not from nervousness about baking, but from the weight of what it represented. My partner stood at the kitchen counter with coffee, watching me work, and at one point asked if the cake had to be perfect or just delicious. I realized then that perfection was beside the point; what mattered was that we'd made something beautiful together for someone we loved. The gold foil caught the afternoon light as we admired it, and that's when the cake stopped being just dessert and became part of her story.
Ingredients
- All-purpose flour (2 ½ cups): The foundation of a tender crumb—don't sift obsessively, just whisk gently to distribute the baking powder evenly without overworking the mixture.
- Baking powder (2 ½ tsp): This is your lift, so make sure it's fresh and not sitting in a cabinet from two years ago, or your cake will bake flat and dense.
- Unsalted butter (1 cup for cake, 1 ½ cups for frosting): Room temperature butter creams into the sugar with almost no effort and creates that light, fluffy texture that makes the cake disappear on your tongue.
- Granulated sugar (2 cups): The beating time matters here—when butter and sugar come together properly, they trap tiny air bubbles that make the cake rise and stay tender.
- Large eggs (4, room temperature): Cold eggs won't incorporate smoothly, so pull them from the fridge about fifteen minutes before baking; you'll notice the batter becomes silkier with each addition.
- Vanilla extract (1 tbsp for cake, 2 tsp for frosting): Use real vanilla if you can—the flavor difference is subtle but becomes part of what makes people ask for your recipe.
- Whole milk (1 cup for cake, 3–4 tbsp for frosting): Room temperature milk blends seamlessly into the batter and prevents the cake from tightening up during baking.
- Powdered sugar (5 cups, sifted): Sifting removes lumps and creates buttercream that spreads like silk, which matters when you're applying edible gold foil.
- Edible gold foil sheets: These are shockingly fragile and infinitely more elegant than sprayed gold; handle them with tweezers or completely dry fingertips.
- Diploma-shaped cake topper: Store-bought toppers save time, but homemade fondant versions become heirloom-quality keepsakes if you have the patience.
Tired of Takeout? 🥡
Get 10 meals you can make faster than delivery arrives. Seriously.
One email. No spam. Unsubscribe anytime.
Instructions
- Set the stage:
- Preheat your oven to 350°F (175°C) and prepare two 9-inch round pans with parchment paper and a light grease—this prevents sticking and makes removal graceful rather than tragic. The oven needs those fifteen minutes to reach the right temperature, so start this while you're gathering ingredients.
- Build your dry base:
- Whisk flour, baking powder, and salt together in a medium bowl, making sure the baking powder is distributed evenly throughout. This step is quick but crucial because it ensures your cake rises evenly without pockets of density.
- Cream the beginning:
- Beat softened butter and sugar together on medium-high speed for three to four minutes until the mixture looks pale, fluffy, and almost mousse-like. You'll notice the texture transform from grainy to silky, and that's the moment you know air is being incorporated.
- Introduce the eggs gently:
- Add eggs one at a time, beating well after each addition until the mixture is smooth before adding the next egg. This prevents the batter from looking curdled or separated.
- Flavor it:
- Stir in vanilla extract until just combined, which takes maybe thirty seconds.
- Layer in the wet and dry alternately:
- Begin with about a third of the flour mixture, beat until just combined, then add a third of the milk, then more flour, continuing this pattern and ending with flour. The reason for this sequence is that beginning and ending with flour prevents the batter from becoming too wet in the middle.
- Divide and smooth:
- Pour batter evenly into both prepared pans and use an offset spatula or the back of a spoon to smooth the tops so they bake evenly. Uneven surfaces bake at different rates.
- Bake with patience:
- Bake for twenty-eight to thirty-two minutes, checking at the twenty-eight-minute mark with a toothpick inserted in the center; it should come out clean or with just a crumb or two clinging to it. The smell will tell you when it's close—it shifts from raw-flour-smell to something golden and inviting.
- Cool strategically:
- Let cakes rest in their pans for exactly ten minutes (this helps them set without hardening), then turn them out onto wire racks to cool completely. This usually takes about an hour, but you can speed it up by placing racks in front of a fan.
- Make the frosting silk:
- Beat softened butter on high speed for about three minutes until it's pale and fluffy, then gradually add powdered sugar a cup at a time while mixing, scraping the bowl as you go. Add vanilla, salt, and then milk or heavy cream, one tablespoon at a time, until the frosting reaches a spreadable consistency that's creamy but not runny.
- Assemble with intention:
- Place one cooled cake layer on your serving plate, spread a generous, even layer of buttercream on top, then place the second layer directly over it. A small offset spatula makes this easier than it sounds.
- Apply the crumb coat:
- Spread a thin layer of frosting all over the cake to seal in crumbs, then refrigerate for thirty minutes—this is the secret to a polished final appearance. When you apply the final frosting layer, crumbs won't get mixed in and cloud the surface.
- Frost with confidence:
- Spread the remaining buttercream smoothly over the cake using long, gentle strokes with an offset spatula or the back of a spoon. Take your time; there's no rush, and the frosting is forgiving.
- Apply the gold with care:
- Using tweezers, carefully pick up small pieces of edible gold foil and apply them to the frosted cake in whatever pattern feels right—whether that's scattered across the top, clustered around the diploma, or creating an elegant border. The gold is incredibly light and will stick to the frosting instantly.
- Position the topper:
- Place your diploma topper at the center or to the side, wherever it looks most balanced, and add sprinkles or star confetti if you'd like an extra celebratory touch. Step back and admire your work.
- Set and serve:
- Chill the finished cake for fifteen minutes to set the frosting, then let it come to room temperature before serving—cold buttercream is less flavorful, but room temperature frosting is luscious. This cake is most beautiful and delicious when sliced fresh.
 Save
Save What made this cake special wasn't just the gold or the diploma topper, but the moment when my daughter cut into it in front of all her friends and the vanilla sponge split open perfectly, revealing that fluffy interior we'd worked toward. Everyone tasted it and felt like they were at something important, which they were—not because of the cake itself, but because we'd put care into marking the moment.
Flavor Customizations That Feel Intentional
If vanilla cake feels too straightforward for your vision, there are subtle shifts that keep everything elegant. Adding one teaspoon of almond extract to the cake batter creates a barely-there marzipan undertone that makes people pause and ask what the secret is, or swirl a tablespoon of lemon zest into the buttercream for brightness that pairs beautifully with gold accents. You could also divide the buttercream and tint different portions with gel food coloring to match school colors, creating an ombré effect that feels both sophisticated and celebratory.
Making the Diploma Topper Feel Personal
Store-bought toppers are convenient and lovely, but a homemade version becomes something the graduate can keep forever. Roll out white or cream-colored fondant, cut it into a scroll shape, and use edible markers to write the graduation year or the person's name—this takes maybe ten minutes but transforms it from decoration into keepsake. If fondant feels intimidating, you can craft one from rolled paper, write on it with calligraphy pen or markers, and it's technically not edible but it's still completely personal and can be removed and treasured afterward.
The Art of Edible Gold Without the Mistakes
Edible gold foil is delicate in a way that feels almost alive—it's so thin that it responds to heat, moisture, and even breath. Keep it in its packaging until you're ready to use it, and handle pieces only with tweezers or completely dry hands, because any moisture on your skin will cause it to stick to you instead of the cake. Apply it to the frosting only after the crumb coat has set; soft frosting grabs it and crumples it, while slightly firmer frosting holds it in place like you meant to be this elegant.
- Press gold foil gently but decisively onto the frosting—hesitation leads to wrinkles and repositioning, which damages the delicate sheets.
- Once gold foil is applied, leave it alone; the beauty comes from its subtle shine, not from perfect coverage.
- If you're nervous about applying it directly, you can apply thin strips or geometric shapes to the diploma topper instead, letting the cake remain unfussy and letting the topper be the statement.
 Save
Save A graduation cake is never just about the cake—it's a beautiful, edible way to say that you believe in someone's future. Serve it with champagne or sparkling cider, take photographs with the light behind it so the gold foil shimmers, and let the moment sink in.
Recipe Q&A
- → How do I prevent the cake from drying out?
Ensure not to overbake and cool the cake completely before frosting. Applying a crumb coat helps lock in moisture.
- → What’s the best way to apply edible gold foil?
Use clean, dry tweezers to gently place gold foil sheets onto the frosting for precise and delicate application.
- → Can I customize the flavors?
Adding almond extract to the batter or coloring the buttercream to match school colors can personalize the cake.
- → How do I make the diploma topper edible?
Create the topper with fondant and edible markers for a fully edible decoration option.
- → What are suitable serving suggestions?
Pair the cake with sparkling cider or champagne to enhance the celebratory experience.