 Save
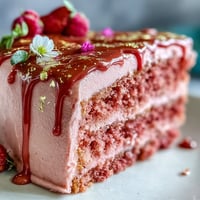
Save The first time I set out to make a rosé velvet cake, my kitchen lit up in hues of blush and laughter. There was something both exhilarating and completely absurd about swirling wine into batter with the windows wide open, letting the gentle spring breeze mingle with sweet vanilla scents. The playlist was just loud enough to keep me buoyant while I fumbled with my piping bags. By the end, everything from my apron to the tip of my nose was dusted in powdered sugar and the faintest shimmer of gold.
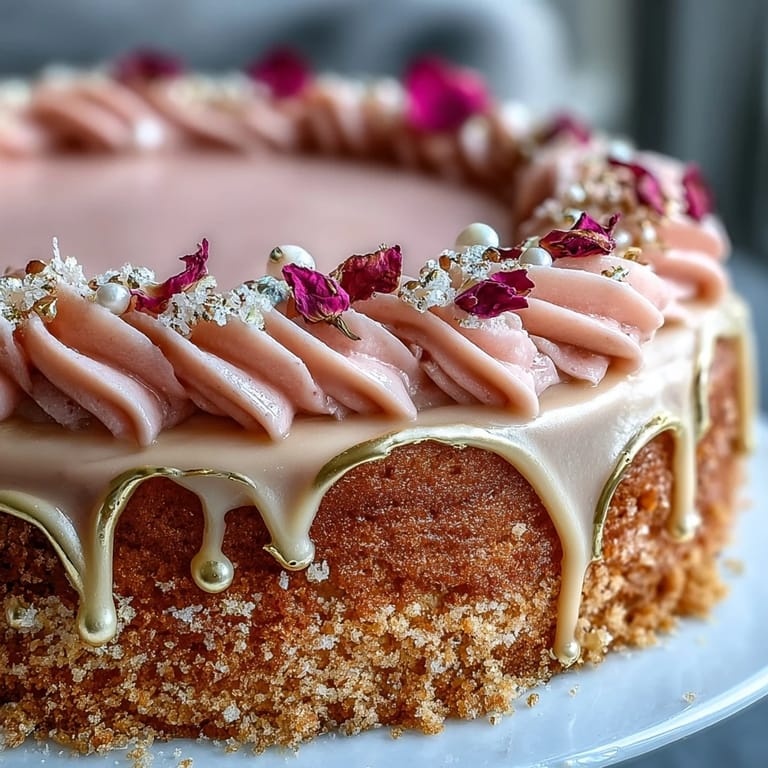
One Saturday before my cousin's bridal shower, I spent an entire morning spattering edible gold drip onto the cake while FaceTiming my aunt. She kept gasping with excitement, relaying each stage to the bride-to-be without giving away the whole surprise. When my niece wandered in and insisted on "helping," we both ended up with rosy buttercream stripes like warrior paint—totally worth the eventual clean-up.
Ingredients
- All-purpose flour: Sift it first for a smoother crumb and to avoid lumps, especially if your kitchen is a little humid.
- Granulated sugar: Essential for sweetness and structure; I learned to be patient while creaming to ensure the right texture.
- Baking soda: Don't skip it—it creates just enough rise for plush layers.
- Fine salt: Balances the sweetness without making the cake taste salty.
- Unsweetened cocoa powder: Just a touch deepens the pink so it's not bubblegum-bright.
- Vegetable oil: Yields a tender, velvety crumb and keeps the cake soft even if made in advance.
- Eggs (room temperature): Bring them out early—they incorporate better for a smoother batter and more even bake.
- Buttermilk (room temperature): Adds tang and moisture, and never curdles if not ice-cold.
- Rosé wine: Use a dry or sparkling style for real nuance in the flavor—the subtlety is everything.
- Vanilla extract: Always use pure extract; it truly makes the flavor bloom.
- White vinegar: Reacts with baking soda for perfect rise and tender texture.
- Pink or rose gel food coloring: Gel keeps batter consistency right and delivers that petal-pink hue—add it with a gentle hand.
- Unsalted butter (room temperature): For the silkiness in the buttercream; too cold and your frosting fights you.
- Powdered sugar: Sift it before using for feather-light buttercream—no lumps allowed.
- Edible gold luster dust: The finishing touch for glam that wows; make sure it's labeled edible.
- White chocolate chips & heavy cream: Together they make the perfect drip—smooth, shiny, and easy to work with.
- Vodka or clear lemon extract: A splash with the luster dust lets you paint like a pro.
Tired of Takeout? 🥡
Get 10 meals you can make faster than delivery arrives. Seriously.
One email. No spam. Unsubscribe anytime.
Instructions
- Prep Your Pans:
- Set the oven to 350°F (175°C), and get your three cake pans greased and lined with parchment so your layers slip out effortlessly.
- Mix Dry Ingredients:
- Combine flour, sugar, baking soda, salt, and cocoa powder in a roomy bowl, sifting to ensure everything is ultra-fine.
- Whisk Wet Ingredients:
- In another bowl, whisk together oil, eggs, buttermilk, rosé, vanilla, and vinegar until it all looks beautifully creamy and blended.
- Bring It Together:
- Fold the wet ingredients into the dry just until the streaks vanish, then swirl in enough gel coloring to create a soft, romantic pink.
- Divide & Bake:
- Distribute the batter among pans, smoothing tops, and bake 30-35 minutes until a toothpick comes out clean and the kitchen smells like a pastry shop in bloom.
- Let Layers Cool:
- Cool cakes in pans for 10 minutes before transferring them to a wire rack—patience here saves your cake from sticking or cracking.
- Make the Rosé Buttercream:
- Beat room temperature butter until creamy, then sift in powdered sugar a cup at a time, mixing on low so your kitchen doesn't become a sugar blizzard.
- Finish the Buttercream:
- Add rosé, vanilla, and a pinch of salt, beating 2-3 minutes for fluff; tweak thickness with more rosé or extra sugar if needed.
- Stack & Fill:
- If needed, level the cooled layers then alternate cake and frosting, applying a thin crumb coat around the outsides to seal in crumbs—chill 20 minutes before final icing.
- Gold Drip Magic:
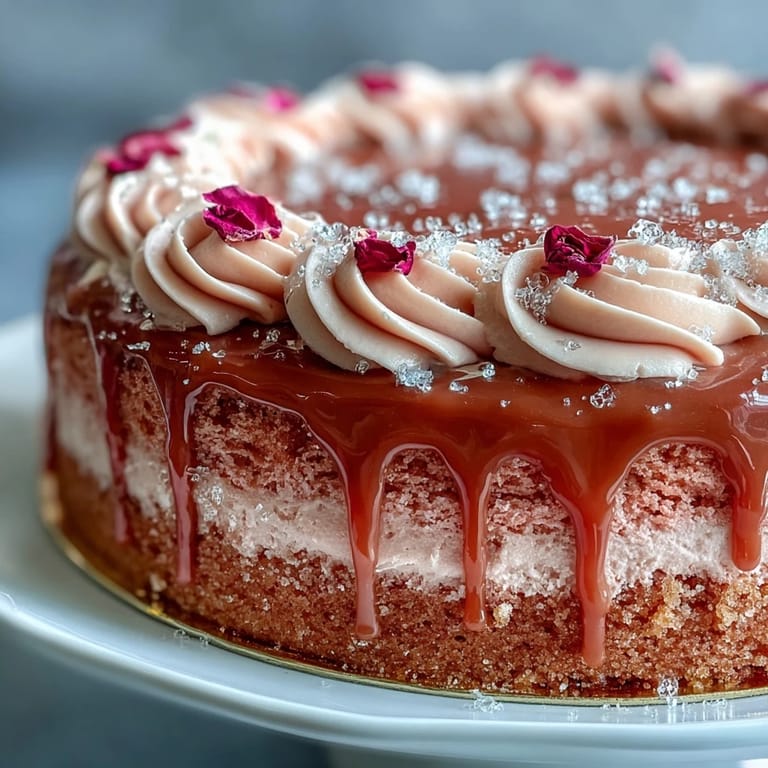
- Melt white chocolate and cream until glossy, cool 10 minutes, then pour carefully along the cake edge so it creates elegant drips.
- Brush On Gold:
- Mix edible gold luster dust with vodka or lemon extract, and use a food-safe brush to paint the drips once they've set—watch them shimmer in the light.
- Final Touches:
- Adorn the top with extra gold accents, rose petals, or fresh berries as inspiration (and pantry) allows.
 Save
Save 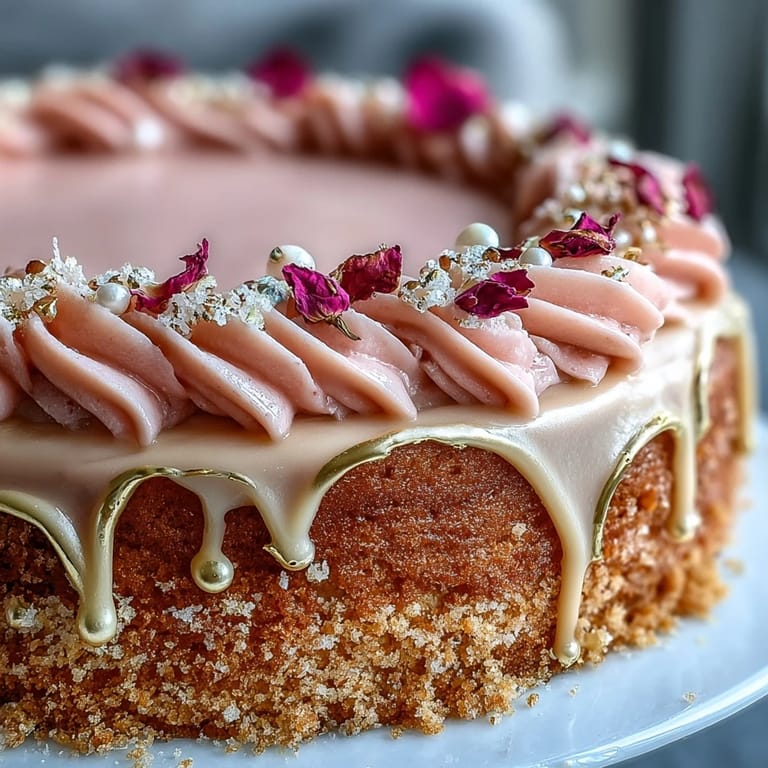 Save
Save Watching everyone at the shower gasp as the cake was revealed—the room dazzled with gold and laughter—made that golden drip worth every pan washed and every splash of wine measured. In that moment, it felt less like dessert and more like creating a memory everyone could slice into.
Making the Cake Layers Even
After baking, I've learned to use a simple serrated knife to level each layer. Doing this means you never get a wobbly cake, and every bite is balanced. Sometimes I save the scraps for late-night snacking—they're irresistible with a leftover swipe of buttercream.
Rosé Buttercream Tricks
Beating buttercream on a cooler afternoon lets it whip up extra lofty. If your kitchen feels warm, just pop the bowl in the fridge between steps and your frosting will stay picture-perfect. I always sneak a taste for "quality control"—it helps gauge the perfect amount of rosé.
Gold Drip Drama (and Delicacy)
Gold drip feels like magic but behaves best if the chocolate is barely warm, not hot. Paint the shimmer with light, quick strokes so it dries with a smooth, polished gleam. Every time, I marvel at how a simple paintbrush turns cake into art.
- Wait until the drip sets before brushing with gold for a clean look.
- If you are nervous, practice your drip on parchment first.
- Always double-check that your luster dust is strictly edible before using.
 Save
Save 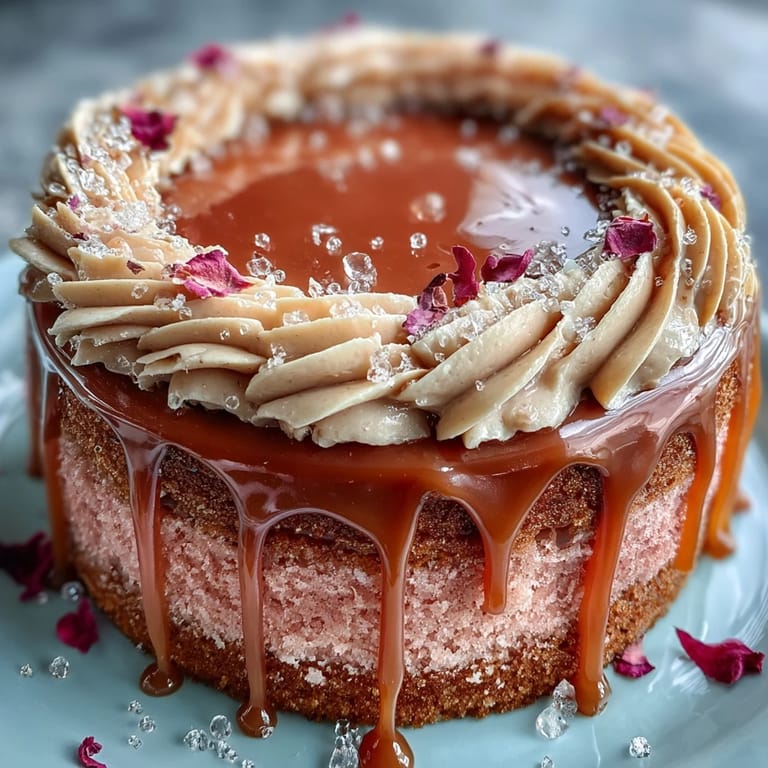 Save
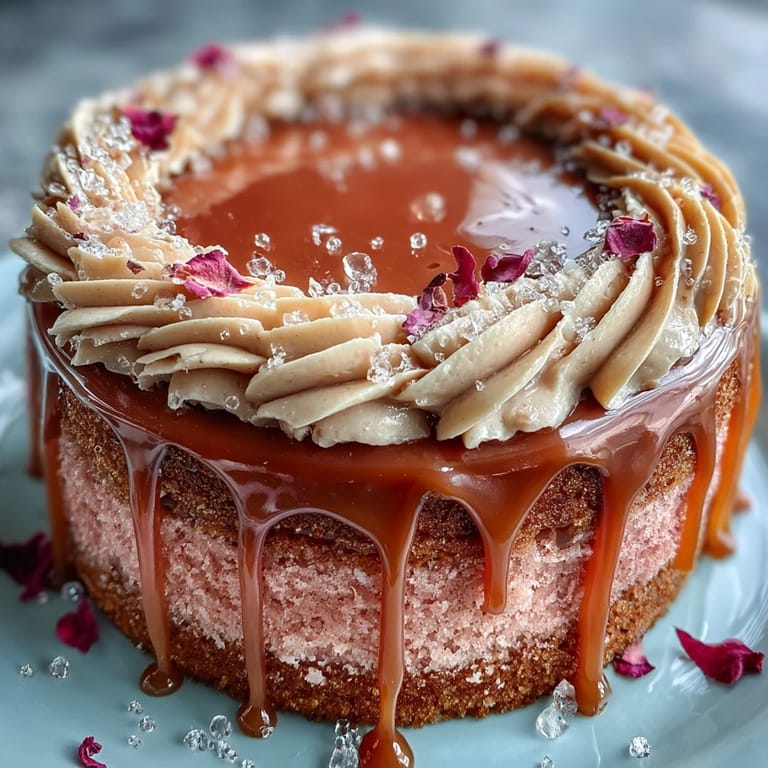
Save Whether for a celebration or simply to brighten a day, this rosé velvet cake always brings smiles and sparkle. I hope it feels as magical for you as it have in my little kitchen.
Recipe Q&A
- → Can I omit the rosé if I prefer no alcohol?
Yes. Substitute the rosé with additional buttermilk or a nonalcoholic sparkling grape juice for similar flavor and acidity. Adjust liquid gradually to maintain batter consistency.
- → How do I get an even pink color without overmixing?
Use gel food coloring for vibrant color with minimal volume. Add a small amount and fold gently until evenly distributed to avoid overworking the batter, which can affect rise and texture.
- → What’s the best way to achieve a smooth buttercream finish?
Apply a thin crumb coat and chill for 15–30 minutes before the final layer. Use an offset spatula and a bench scraper while rotating the cake on a board to smooth the sides evenly.
- → How should I make the gold drip edible and safe?
Use white chocolate and cream for the drip, cooled to a pourable temperature. Mix edible gold luster dust with a few drops of vodka or clear lemon extract to make a food-safe paint, and brush onto set drip. Never use non-edible metallics.
- → Can this cake be made ahead and stored?
Yes. You can assemble a day ahead and refrigerate; bring to room temperature before serving for best texture. Store covered to prevent drying and protect decorations.
- → Any tips for keeping layers level and stable?
Level cooled layers with a serrated knife if needed. Use a thin layer of buttercream between layers and chill briefly after stacking to firm up the cake before adding the final coat and drip.