 Save
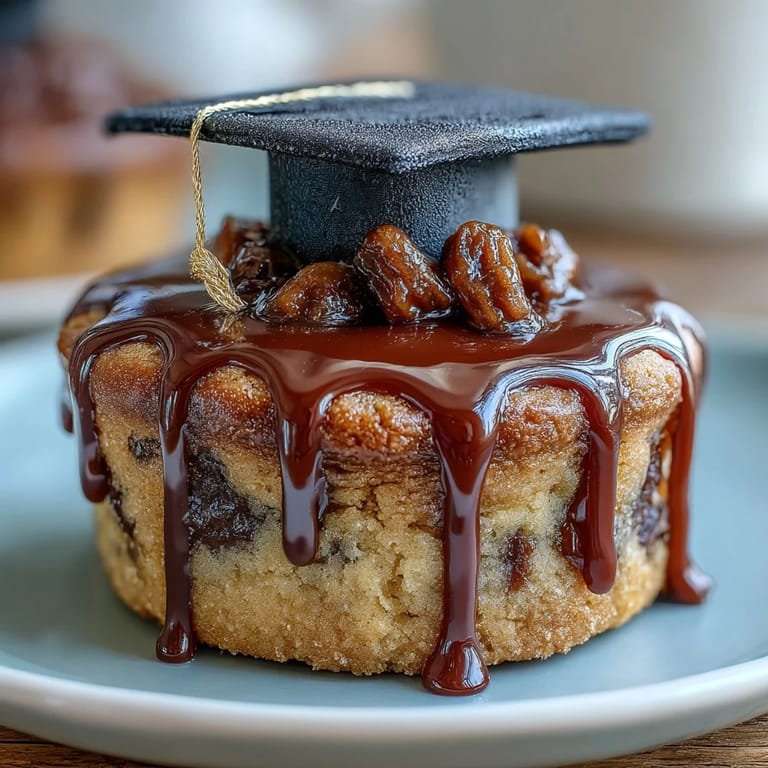
Save My neighbor called me in a panic three days before her daughter's graduation party, asking if I could whip up something special for the dessert table. I'd never made fondant decorations before, but something about the challenge excited me—the idea of turning simple sugar cookies into tiny edible celebrations. That afternoon, standing in my kitchen with flour dusting my apron and a block of black fondant in hand, I realized this wasn't just about following instructions. It was about creating something that would make her daughter smile.
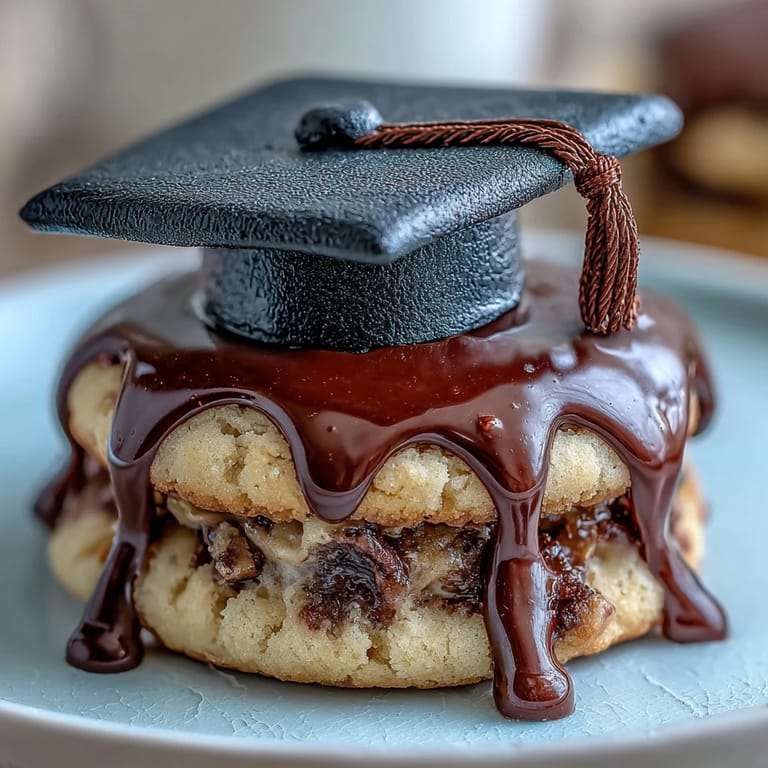
When I delivered those cookies to the party, I watched people pause mid-conversation to admire them—then take a second to actually taste them. That's when I knew I'd gotten it right: they weren't just cute decorations, they were genuinely delicious sugar cookies beneath the fondant hats. The fondant added just enough sweetness without overwhelming the buttery cookie underneath, and I caught myself grinning as the graduate's mom squeezed my hand and said, "These are perfect."
Ingredients
- All-purpose flour: This is your foundation—make sure it's measured correctly by spooning and leveling rather than scooping straight from the bag, or your dough might turn out too dry.
- Baking powder: Just enough to give the cookies a slight lift without making them cakey; skip it and they'll be denser, which isn't necessarily bad, just different.
- Unsalted butter: Let it soften at room temperature for at least 30 minutes so it creams smoothly with the sugar—cold butter won't incorporate air properly.
- Granulated sugar: This sweetens the dough and helps with that tender crumb texture that makes people reach for a second cookie.
- Egg and vanilla extract: These bind everything together and add richness; use pure vanilla, not imitation, if you want that authentic cookie shop flavor.
- Black and yellow fondant: The star of the decoration show—buy it pre-colored to save yourself the mess and time of tinting it yourself, unless you want to match specific school colors.
- Powdered sugar and milk: Mixed together, this becomes your edible glue that holds the fondant mortarboards firmly to each cookie.
Tired of Takeout? 🥡
Get 10 meals you can make faster than delivery arrives. Seriously.
One email. No spam. Unsubscribe anytime.
Instructions
- Set your oven and prep your workspace:
- Preheat to 350°F and line your baking sheets with parchment paper—this prevents sticking and makes cleanup a breeze. Your workspace should be clean and ready because dough prep moves quickly once you start.
- Mix your dry ingredients:
- Whisk flour, baking powder, and salt together in a medium bowl so everything is evenly distributed. This step prevents pockets of baking powder in your baked cookies, which would taste bitter.
- Cream butter and sugar:
- Beat them together for 2 to 3 minutes until the mixture looks pale and fluffy—this incorporates air that keeps your cookies tender. If you rush this step, your cookies will be dense and flat.
- Add egg and vanilla:
- Mix until everything is combined and the bowl looks smooth and creamy. Don't overmix from here on out, or your cookies will turn tough.
- Bring wet and dry together:
- Add the flour mixture gradually and stir just until you don't see any white streaks. Overmixing at this stage develops gluten, which makes cookies chewy instead of tender.
- Roll and cut:
- Roll dough to 1/4-inch thickness on a lightly floured surface and cut into 2 1/2-inch rounds or squares—this size is perfect for topping with a mortarboard. If your dough gets warm and sticky, refrigerate it for 10 minutes.
- Bake until golden:
- Watch for the edges to turn golden brown after 10 to 12 minutes; the centers should still look slightly soft. They'll firm up as they cool, so don't overbake or you'll end up with hard cookies.
- Cool completely:
- Let cookies sit on the baking sheet for a minute, then transfer to a wire rack to cool completely before decorating. Trying to decorate warm cookies is a frustrating mess.
- Prep your fondant decorations:
- While cookies cool, roll black fondant thin and cut 24 small squares for mortarboard tops and 24 small cylinders for the base. Have your yellow fondant rolled into thin ropes ready for tassels.
- Make your icing:
- Whisk powdered sugar, milk, and vanilla until smooth and spreadable—it should be thick enough to hold decorations in place. If it's too thin, add more powdered sugar; too thick, add milk drop by drop.
- Decorate each cookie:
- Use icing to attach a fondant square in the center of each cooled cookie, then place a fondant cylinder underneath it as the base, and finish with a yellow tassel attached to one corner. Work steadily but don't rush—your hands will get more confident with each cookie.
- Let everything set:
- Give the decorations 20 to 30 minutes to harden before serving or packaging. This prevents smudging and keeps your mortarboards sitting proudly on top of each cookie.
 Save
Save Days after the party, I got a message from the graduate herself thanking me for the cookies. She'd saved one to remember the day by—not eaten it, just kept it on her shelf. That's when I understood: these weren't just treats, they were little edible keepsakes that marked an important moment in someone's life.
Customizing Your Cookies
School colors matter, so if you know what they are, grab fondant in those shades instead of plain black and yellow. You can also swap the round cookies for squares to make the mortarboards look more geometric and modern, or use star-shaped cutters if you want something playful. The beauty of this recipe is that it adapts to whatever celebration you're creating for—whether it's a high school graduation, college, or even a teacher's retirement party.
Storage and Make-Ahead Tips
These cookies hold up beautifully in an airtight container for up to five days, which means you can bake them a day or two ahead if you're feeling pressed for time. The fondant decorations actually get firmer over time, so adding them the night before is totally fine. If you want to get ahead even further, the plain sugar cookies freeze well for up to a month—just thaw them and decorate whenever you're ready.
Shortcuts and Swaps That Actually Work
I'm not going to judge if you use store-bought sugar cookie dough; sometimes life is busy, and these cookies are about celebrating, not stressing. Pre-colored fondant from the cake decorating aisle saves you from mixing and matching shades, and honestly, that's a win. If mortarboard decorating feels too intricate, you could pipe a small graduation cap design with black royal icing instead, or even just press a fondant square on top without the cylinder base.
- Skip the fondant cylinder base entirely and use a dab of icing to attach the square mortarboard directly to the cookie for a simpler look.
- Make your own colored fondant by kneading gel food coloring into white fondant if you want exact school colors that aren't in stores.
- Use edible gold or silver dust mixed with a tiny bit of water to paint details on the mortarboards for an extra-fancy touch.
 Save
Save Making these cookies is genuinely fun, and watching someone's face light up when they see a cookie decorated just for them makes every minute worthwhile. These little mortarboards are your way of saying, "I see your achievement, and I'm proud of you."
Recipe Q&A
- → What is the best way to roll fondant for decorations?
Roll fondant thinly on a cornstarch-dusted surface to about 1/8-inch thickness for easy cutting and shaping.
- → Can I prepare the cookies ahead of time?
Yes, cookies can be baked and decorated ahead; store them in an airtight container for up to 5 days to maintain freshness.
- → How do I keep fondant decorations from sticking?
Lightly dust your work surface and tools with cornstarch to prevent sticking while rolling and shaping fondant.
- → What alternative ingredients work for dietary restrictions?
Substitute gluten-free flour, dairy-free butter, or egg replacers as needed, and check fondant ingredients for allergens.
- → How thick should the cookie dough be rolled?
Roll the dough to about 1/4-inch thickness before cutting to ensure even baking and a tender texture.